

T-Shirt Design Placement Guide: A Comprehensive Overview (2026)
This comprehensive guide, updated for 2026, details optimal t-shirt design placements for logos, artwork, and text.
It provides sizing practices and tips for impactful, stylish, and wearable designs, ensuring intentional aesthetics.
Effective t-shirt design placement is crucial for creating visually appealing and marketable apparel. It’s more than simply slapping a graphic onto a shirt; it’s about understanding how design location impacts the overall aesthetic and wearer experience. This guide serves as a detailed exploration of various placement options, catering to diverse design types – from bold logos to intricate artwork and impactful text-based statements.
Proper placement enhances brand visibility, ensures comfortable wear, and ultimately influences purchasing decisions. Whether you’re a seasoned designer or just starting, mastering these principles will elevate your t-shirt creations. We’ll delve into best practices for both embroidery and printing, offering insights to maximize impact and achieve a professional finish. Consider this your starting point for intentional and stylish t-shirt design.
Understanding the Importance of Placement
Strategic t-shirt design placement directly influences how a design is perceived and worn. Incorrect placement can distort artwork, create discomfort, or diminish brand impact. A well-placed design complements the shirt’s shape and the wearer’s body, enhancing its overall appeal. Considering the garment’s shape and the natural curve of the sleeves is paramount for a professional look.
Furthermore, placement affects production costs, particularly for multi-color designs. Simpler designs often suit sportswear or team uniforms, maintaining a professional aesthetic while minimizing expenses. Thoughtful placement also ensures the design remains visible and doesn’t appear awkwardly positioned. Ultimately, understanding these nuances transforms a simple t-shirt into a wearable piece of art, effectively communicating your message and brand identity.

Key T-Shirt Design Placement Areas
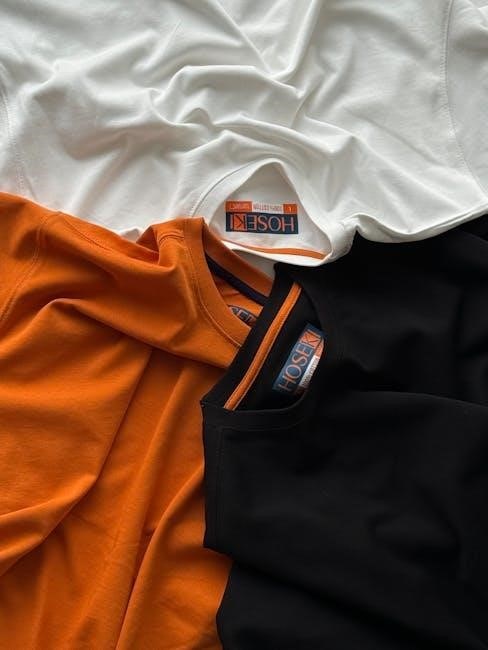
Explore eight key areas for t-shirt designs: full front, center chest, left chest, off-center, pocket, sleeves, and back neck placements offer diverse options.
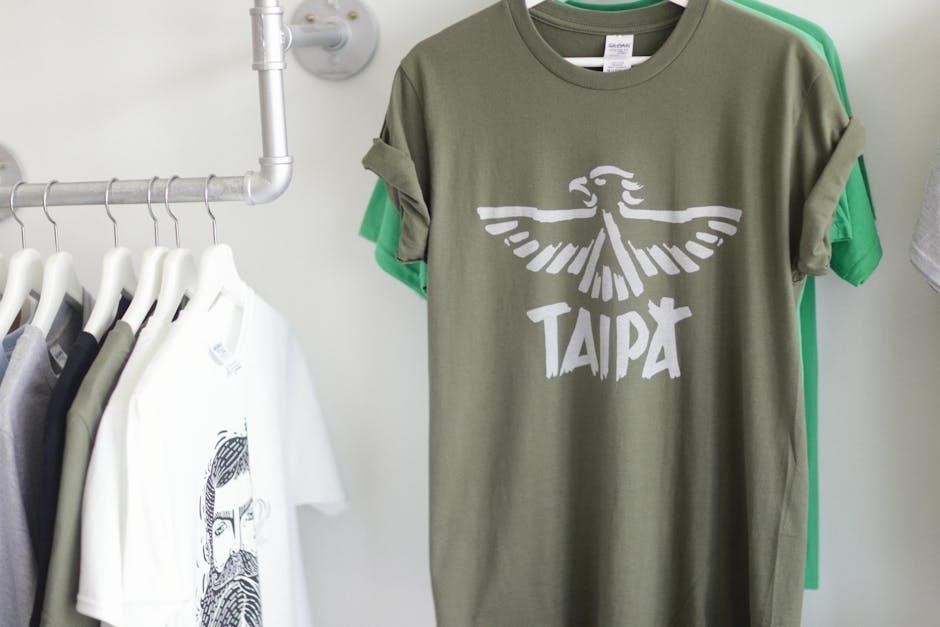
Full Front Placement
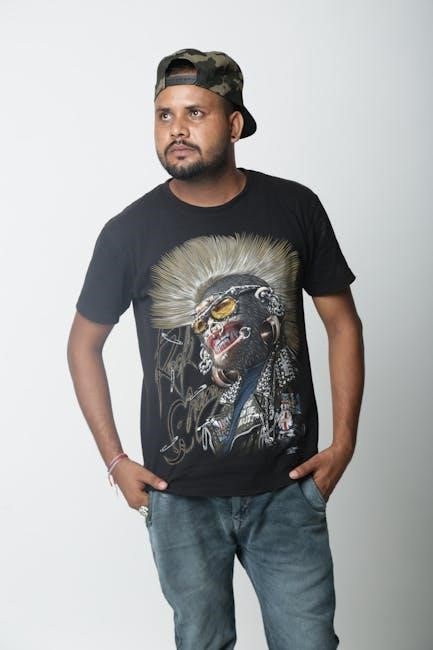
Full front placement is ideal for making a bold statement with your t-shirt design. This expansive area allows for large, impactful graphics or text, effectively utilizing the entire front canvas of the garment. It’s particularly well-suited for designs that require significant visual space to convey detail or complexity.
However, careful consideration must be given to the design’s scale and how it interacts with the wearer’s body. A design that’s too large can appear overwhelming or disproportionate, while a smaller design might get lost on the vast expanse of fabric.
When employing full front placement, remember to account for the natural curve of the t-shirt and ensure the design flows harmoniously with the garment’s shape. This technique is excellent for showcasing brand logos, intricate artwork, or powerful slogans, creating a visually striking and memorable impression. It’s a go-to area for designs aiming for maximum visibility and impact.
Center Chest Placement
Center chest placement offers a classic and versatile option for t-shirt designs, providing a balanced and symmetrical look. This area is perfect for logos, smaller graphics, or concise text-based designs that aim for a clean and understated aesthetic. It’s a popular choice for brands seeking to subtly showcase their identity or for individuals wanting a refined and timeless design.
When utilizing center chest placement, precise alignment is crucial to ensure the design appears centered and proportional. Consider the wearer’s body shape and size, as the placement can appear different on various individuals.
Avoid designs that extend too far down the chest, potentially landing awkwardly on the belly area. Adjustments are often needed to ensure the design sits comfortably and visually appealing. This placement works exceptionally well with embroidery or print, offering a professional and polished finish.
Left Chest Placement (Classic Placement)
Left chest placement is a timeless and sophisticated choice, often associated with workwear, polo shirts, and a generally refined aesthetic. This area is ideal for smaller logos, emblems, or initials, offering a subtle yet recognizable branding opportunity. It’s a particularly effective placement for businesses wanting to project a professional image or for individuals preferring a minimalist design approach.
Traditionally, the left chest is considered the most visible and appropriate location for branding on apparel. Ensure the design size is proportionate to the chest area; overly large designs can appear bulky, while excessively small ones may go unnoticed.
Consider the garment’s fabric and texture when selecting a design style. Embroidery often complements this placement beautifully, adding a premium feel. Precise alignment is key to achieving a polished and professional look.
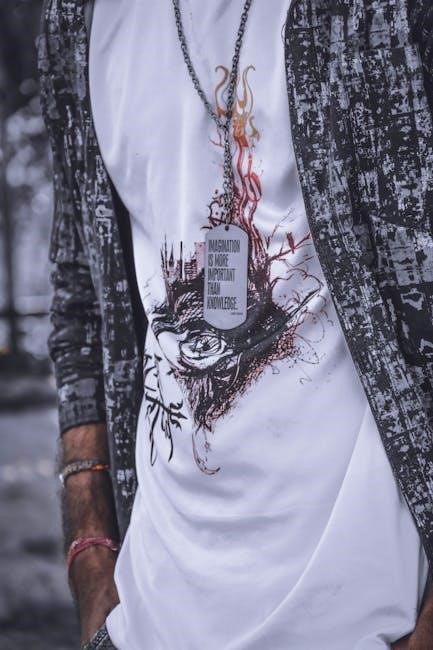
Off-Center Placement
Breaking away from traditional symmetry, off-center placement offers a modern and artistic flair to t-shirt designs. This technique introduces visual interest and can create a more dynamic and unique look, appealing to those seeking a less conventional style. It’s particularly effective for graphic designs, illustrations, or text-based designs aiming for a contemporary aesthetic.
When utilizing off-center designs, careful consideration must be given to balance and composition. Avoid making the design feel haphazard or unbalanced; strategic placement is crucial. Experiment with different positions to find the sweet spot that complements the garment’s shape and the design itself.
This placement works exceptionally well with designs that incorporate movement or directionality, enhancing the overall visual impact. It’s a great way to showcase creativity and stand out from the crowd.

Design Types & Optimal Placement
Different design types—logos, artwork, and text—require unique placement strategies for maximum visual impact and aesthetic appeal on t-shirts.
Logo Placement Strategies
Strategic logo placement is crucial for brand recognition and creating a professional aesthetic. Classic left chest placement offers a subtle, sophisticated look, ideal for corporate or minimalist designs. For bolder statements, full front placement commands attention, perfect for showcasing a primary brand identity. Consider off-center placement for a modern, unique twist, adding visual interest while maintaining brand visibility.
When utilizing full front placement, ensure the logo is appropriately sized to avoid overwhelming the garment. For sportswear or team uniforms, simpler, single-color logos often prove most effective, reducing production costs and maintaining a clean, professional appearance. Remember to test logo placement using online design tools to visualize the final product and ensure optimal impact. Carefully consider the garment’s shape and sleeve curve during layout arrangement for a polished result.
Artwork & Graphic Design Placement
Artwork and graphic designs offer greater creative freedom, but require careful placement consideration. Full front placement is ideal for large, impactful designs, ensuring maximum visibility. However, be mindful of distortion; test your design in an online tool to account for the garment’s shape. Center chest placement works well for balanced compositions, while off-center placement can create dynamic, modern looks.
Avoid placing designs too high or too low – a common mistake is positioning artwork directly on the belly. Adjust the vertical placement until the design feels balanced and visually appealing. Factor in the natural curve of the sleeves when arranging your layout to prevent awkward distortions. Complement the artwork with carefully chosen shirt colors for enhanced visual impact. Remember to prioritize wearability and ensure the design doesn’t feel restrictive or uncomfortable.
Text-Based Design Placement
When working with text-based designs, legibility and visual hierarchy are paramount. Center chest placement is a classic choice, ensuring the message is immediately visible. For a more subtle approach, consider left chest placement, often used for brand names or slogans. Off-center placement can add a contemporary edge, but ensure the text remains easily readable.
Pay close attention to font size and style; smaller fonts may become illegible when printed. Utilize online design tools to preview the final result and adjust accordingly. Consider the shirt color – contrasting colors enhance readability. For sportswear or team uniforms, simpler, single-color designs often prove most effective, maintaining a professional aesthetic and potentially reducing production costs. Avoid overly complex arrangements that might detract from the core message.
Advanced Placement Techniques
Explore unique areas like pocket, sleeve, and back neck placements for distinctive designs. These techniques add subtle branding or artistic flair to your t-shirts.
Pocket Placement
Pocket placement offers a subtle yet stylish design option, ideal for smaller logos or graphics. This technique works particularly well on classic t-shirts featuring a chest pocket, adding a touch of understated branding. Consider the pocket’s size and shape when designing; simpler designs generally translate best to this limited space.
Embroidery is a popular choice for pocket designs, offering a premium and durable finish. Alternatively, screen printing can be used for bolder colors and more intricate details. Ensure the design complements the shirt’s overall aesthetic and doesn’t clash with the pocket’s color or texture.
When positioning the design, leave adequate space around the pocket’s edges to prevent it from looking cramped. A well-executed pocket placement can elevate a t-shirt’s look, providing a sophisticated and unique touch that sets it apart.
Sleeve Placement (Left & Right)
Sleeve placement provides a unique and often overlooked design opportunity, perfect for adding subtle branding or complementary graphics. Designs on sleeves can create visual interest and movement, especially when the arms are in motion. Consider utilizing both sleeves for a balanced look, or opting for a single sleeve design for a more asymmetrical style.
When arranging layouts, it’s crucial to factor in the natural curve of the sleeve; designs should flow with this shape to avoid distortion. Smaller logos or icons work well on sleeves, as larger designs can appear bulky or uncomfortable.
For sportswear or team uniforms, sleeve designs are commonly used to display player numbers or team emblems. Remember to test the design’s placement using mockups to ensure it looks visually appealing and doesn’t interfere with the shirt’s wearability.
Back Neck Placement

Back neck placement is a subtle yet effective area for branding or adding a small, impactful design element. This location is ideal for logos, initials, or short phrases, offering a discreet touch of personalization. It’s particularly useful for reinforcing brand identity without being overly prominent.
Due to the limited space, designs for the back neck should be concise and easily readable. Consider the wearer’s hair length, as longer hair may partially obscure the design.
Embroidery often works exceptionally well in this area, providing a premium and durable finish. When designing for the back neck, ensure the design complements the overall aesthetic of the t-shirt and doesn’t clash with any other graphics or text. Testing with mockups is vital to confirm visibility and aesthetic appeal.
Tools & Best Practices
Utilize online design tools for accurate mockups, factoring in sleeve curves and garment shape. Complement designs with thoughtful color choices for professional results.
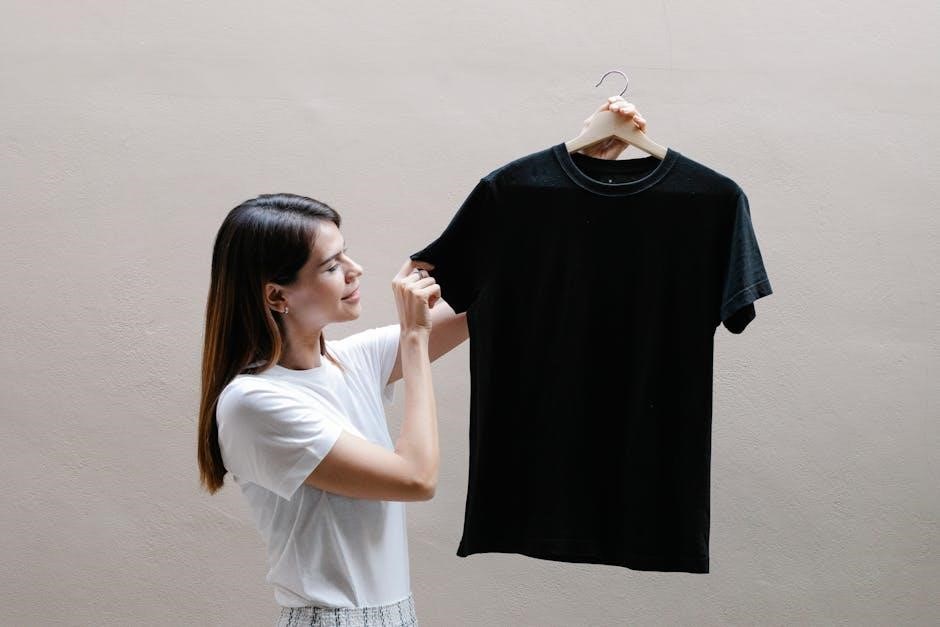
Using Online Design Tools for Mockups
Leveraging online design tools is crucial for visualizing your t-shirt designs before production. These platforms offer realistic mockups, allowing you to experiment with different placements, sizes, and colors without the cost of physical samples. Many tools provide garment templates, showcasing how your artwork will appear on various t-shirt styles and colors.
This capability is invaluable for assessing the overall aesthetic and ensuring the design aligns with your vision. You can easily adjust the design’s position, scale it to the desired size, and preview the final look. Furthermore, these tools often allow collaboration, enabling you to share mockups with clients or team members for feedback.
Testing your design placement within these digital environments saves time and resources, minimizing potential errors and maximizing design impact. It’s a best practice to utilize these resources throughout the design process, from initial concept to final approval.
Considering Sleeve Curve & Garment Shape
Accurate design placement requires careful consideration of the t-shirt’s natural curves and overall shape. The sleeve introduces a significant curve, impacting how designs wrap and appear on the garment. Ignoring this can lead to distorted or awkwardly positioned artwork, especially on sleeve placements.
Similarly, the t-shirt’s body shape isn’t perfectly flat; it contours to the wearer’s form. Factor in how the fabric drapes and stretches, particularly around the chest and sides. Online design tools can help simulate this, but physical mockups are ideal for assessing the fit.
Always account for potential distortion when placing designs near seams or areas prone to stretching. A well-placed design complements the garment’s shape, enhancing its visual appeal and ensuring a comfortable, flattering fit for the wearer.
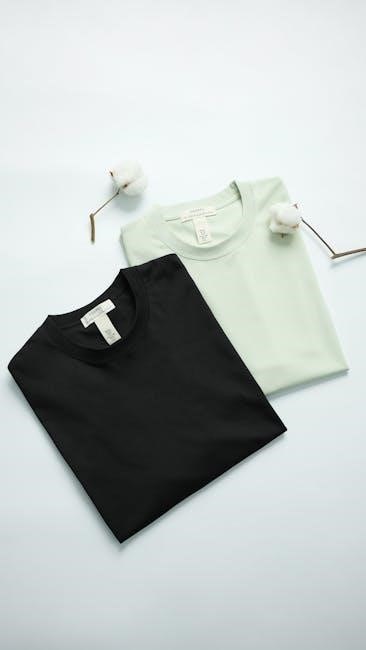
Color Considerations for Design Placement
Strategic color choices are crucial for impactful t-shirt designs, and placement significantly influences their effectiveness. Consider the shirt’s base color when selecting design hues; contrast is key for visibility, ensuring your artwork stands out. Dark designs on light shirts and vice versa generally work best, but explore complementary color schemes for a more nuanced look.
For sportswear or team uniforms, single-color designs often offer a professional aesthetic and can reduce production costs. When using multiple colors, ensure they harmonize with the shirt’s base and each other.
Test color combinations in online design tools to preview the final result. Remember that screen colors may differ slightly from printed outcomes. Thoughtful color placement enhances the design’s overall impact and brand representation.
Sizing & Measurement Guidelines
Accurate sizing and measurement are vital for professional t-shirt designs. Determine optimal design size and measure vertically from the collar, avoiding common placement errors.
Determining Optimal Design Size
Establishing the correct design size is paramount for a visually appealing t-shirt. Consider the placement area; a full-front design naturally requires a larger size than a left-chest logo. Begin by evaluating the garment’s size range – a design that looks perfect on a medium might appear disproportionately small or large on a 3XL.
Utilize online design tools to visualize mockups with varying sizes. A general guideline suggests that logos shouldn’t exceed 4 inches in height for left-chest placements, while full-front designs can range from 9 to 12 inches, depending on the artwork’s complexity and desired impact.
Always test print a sample to confirm the size looks balanced and proportionate on different body types. Remember to account for potential distortion during the printing process, especially with intricate designs. Prioritize readability and clarity; a design that’s too small will lose its impact, while one that’s too large can appear overwhelming.
Measuring from the Collar (Vertical Placement)
Accurate vertical placement, measured from the collar, is crucial for a flattering and professional t-shirt design; Starting the measurement from the high point of the shoulder (where the collar meets the sleeve) ensures consistency across garment sizes. Avoid placing designs directly at the collar, as this can cause discomfort and distortion during wear.
For center chest placements, a common starting point is 3.5 inches down from the collar, but this varies based on design size and style. Angie Holden suggests adjusting this point, as 3.5 inches can place designs awkwardly on the belly.
Experiment with different measurements in online design tools to visualize the impact. Consider the wearer’s body shape; a higher placement can elongate the torso, while a lower placement might suit a different aesthetic. Always test print to confirm the vertical alignment is visually appealing and comfortable.
Avoiding Common Placement Mistakes
Several common errors can detract from a t-shirt’s design. One frequent mistake is ignoring the garment’s shape, particularly the sleeve curve, which impacts design alignment. Failing to account for this can lead to distorted or uneven artwork. Another pitfall is overcrowding the design space; simplicity often yields a more impactful result.
Incorrect sizing is also problematic – designs that are too large can appear bulky, while those too small may lack visibility. Always test designs at the intended size using mockups.
Avoid placing designs directly over pockets or seams, as these can disrupt the artwork. Finally, ensure color choices complement the shirt’s base color for optimal contrast and readability. Careful planning prevents these issues, resulting in a polished, professional finish.